Every Drummer must learn how to hold the drumsticks properly. A proper grip can help you increase your speed, power, control, etc. A careless grip can increase the wrist pain and tension. There are many ways to hold the drumsticks, that is various grips that will match your style of play.
There is the Matched Grip and the Traditional Grip to hold the sticks.
Matched Grip is holding the sticks in which both hands use the same grip. A few ways to hold the sticks are the American Grip, German Grip and the French grip.The most common way of holding the sticks is the American Grip because it is comfortable.
- Start by not holding the sticks. Take your right hand and make a gun shape with it.The thumb and the index finger must be extended like a gun shape.The rest of the fingers must be curled into your palm. The back of the hand must be facing upward when playing. The same steps are to be repeated for the left hand. Feel free, flexible without any tension.
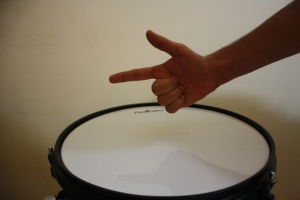
Right hand (thumb and the index finger) pointing like a Gun. Rest of the fingers curled up onto the palm
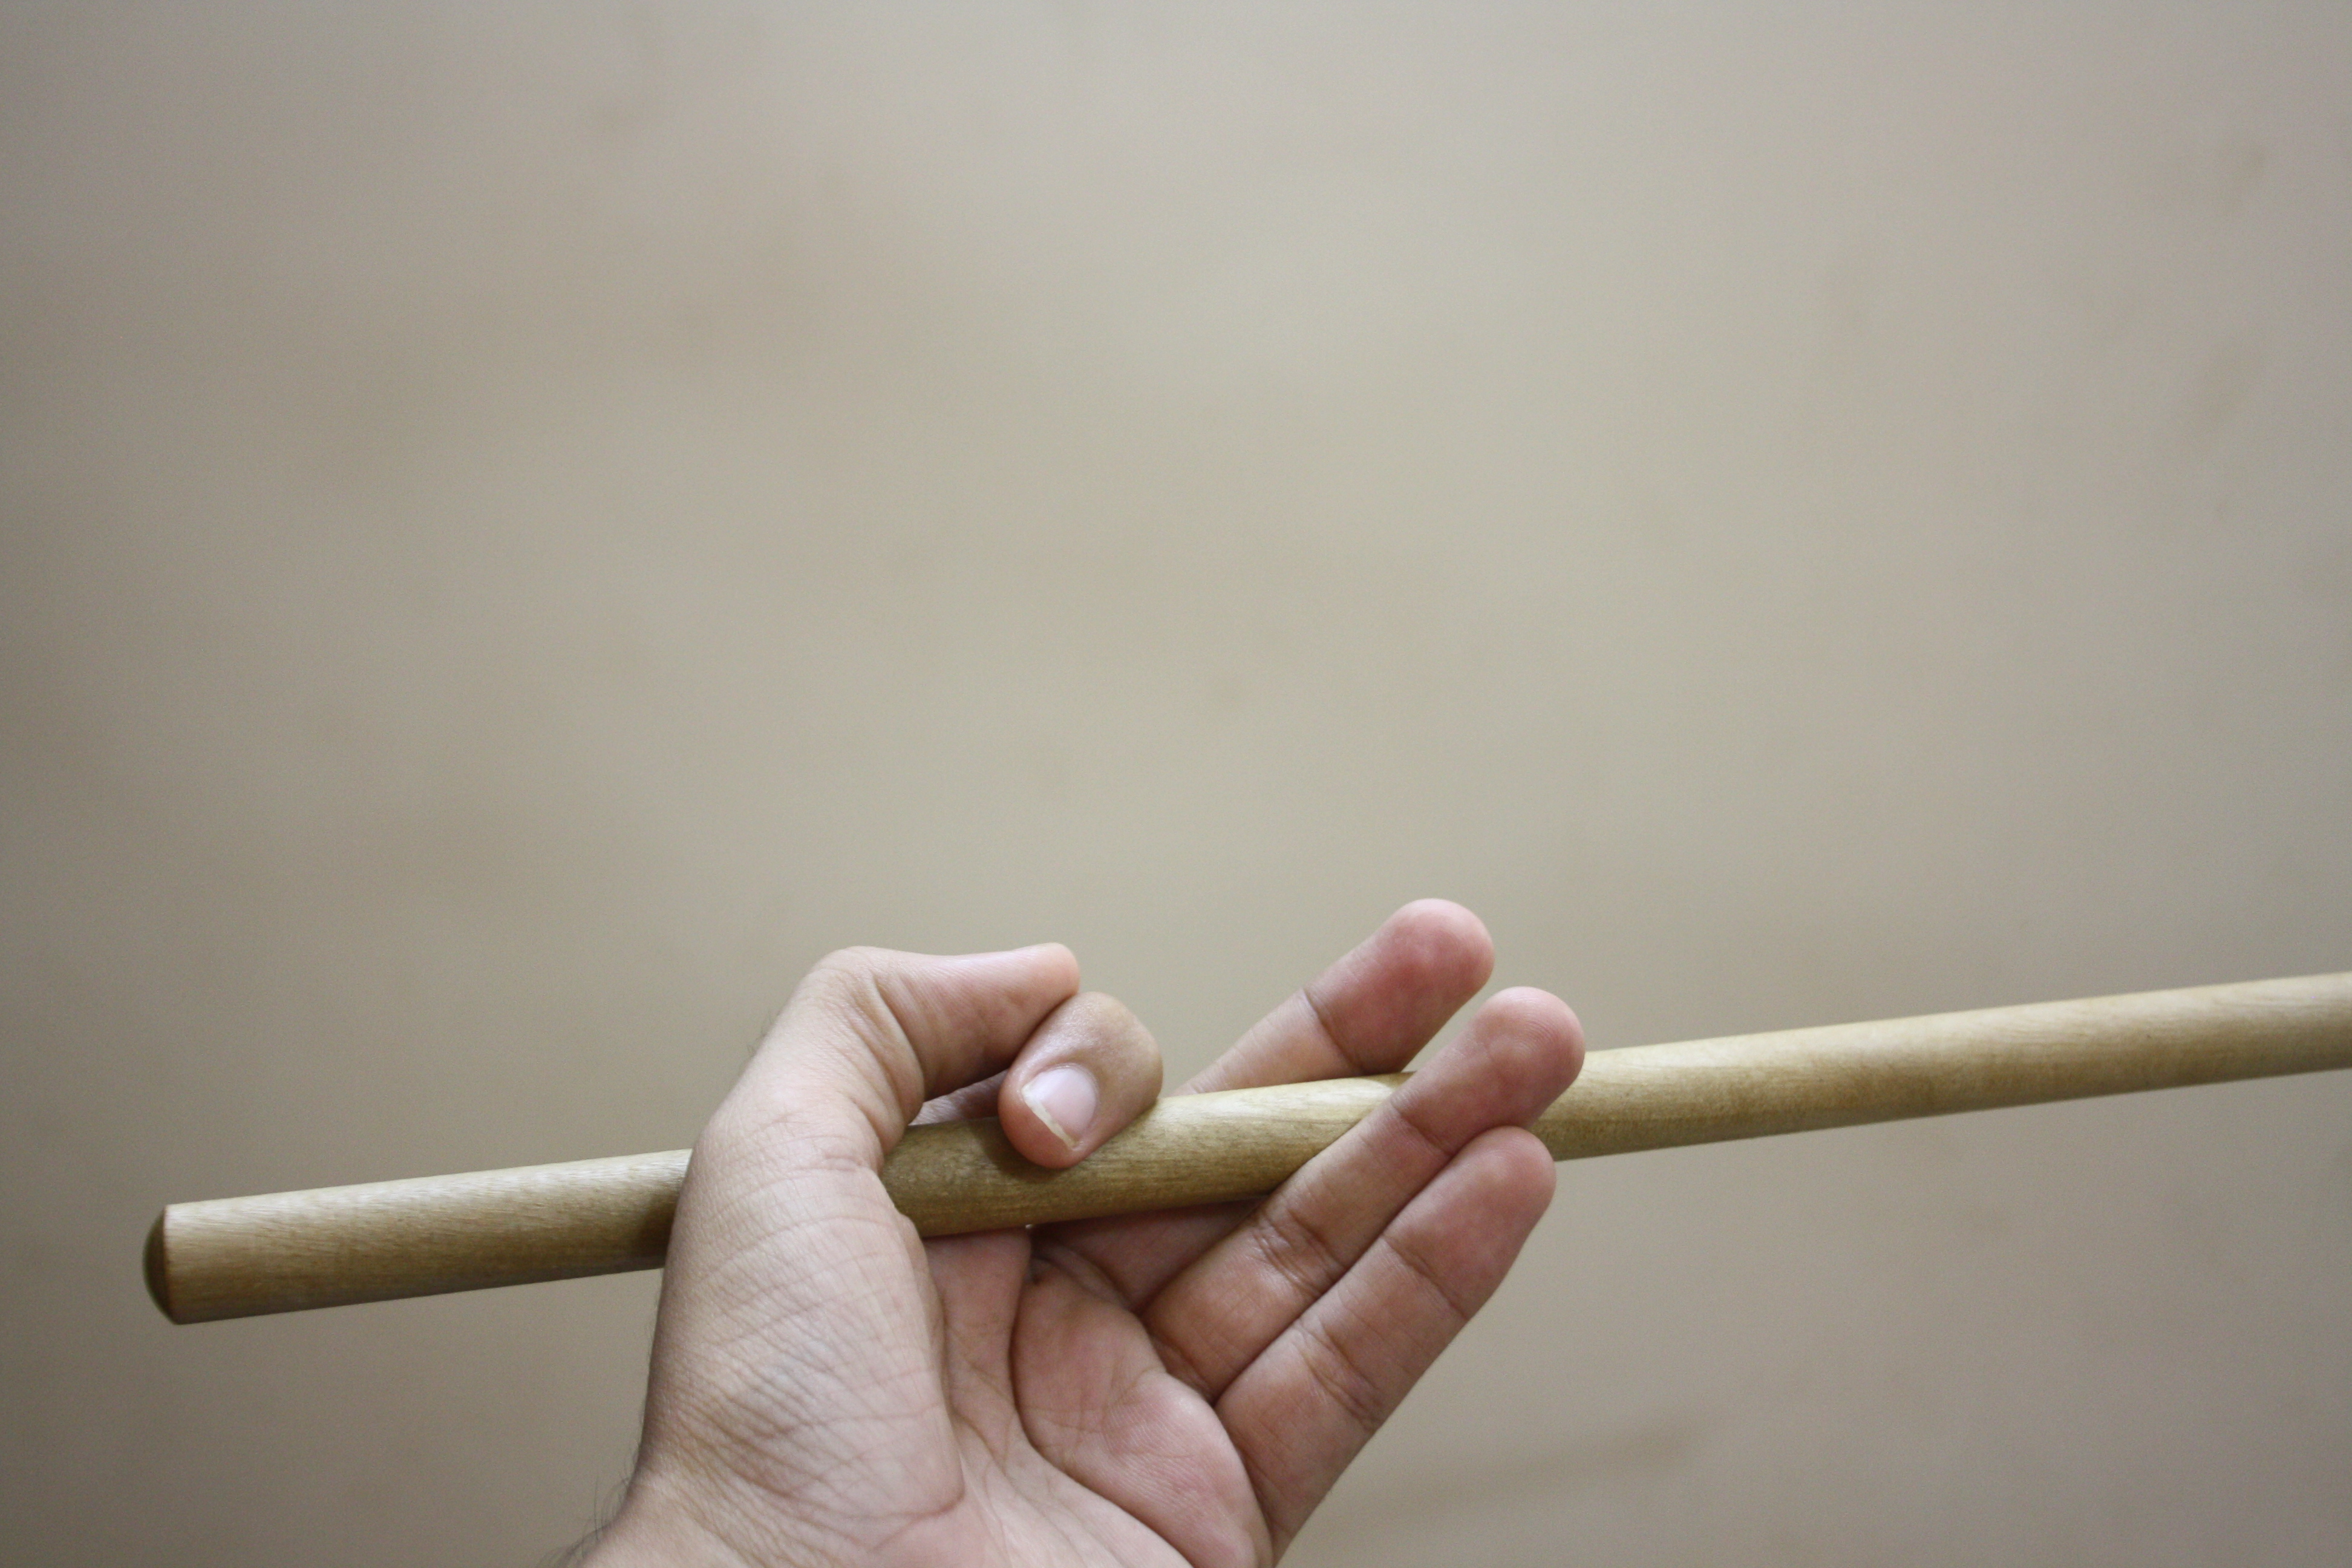
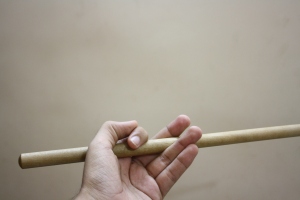
2. Now pick up the sticks and place or grip it between the thumb and the first joint of the index finger (Balance Point), say one third of the distance from the butt end of the stick. Close the other fingers loosely around the stick. Place the thumb on the side of the stick but don’t put too much pressure on it.
Hold the stick between the thumb and the index finger
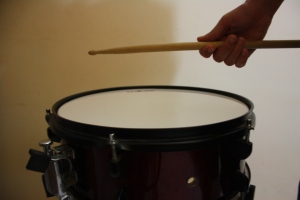
Close the other fingers loosely around the stick
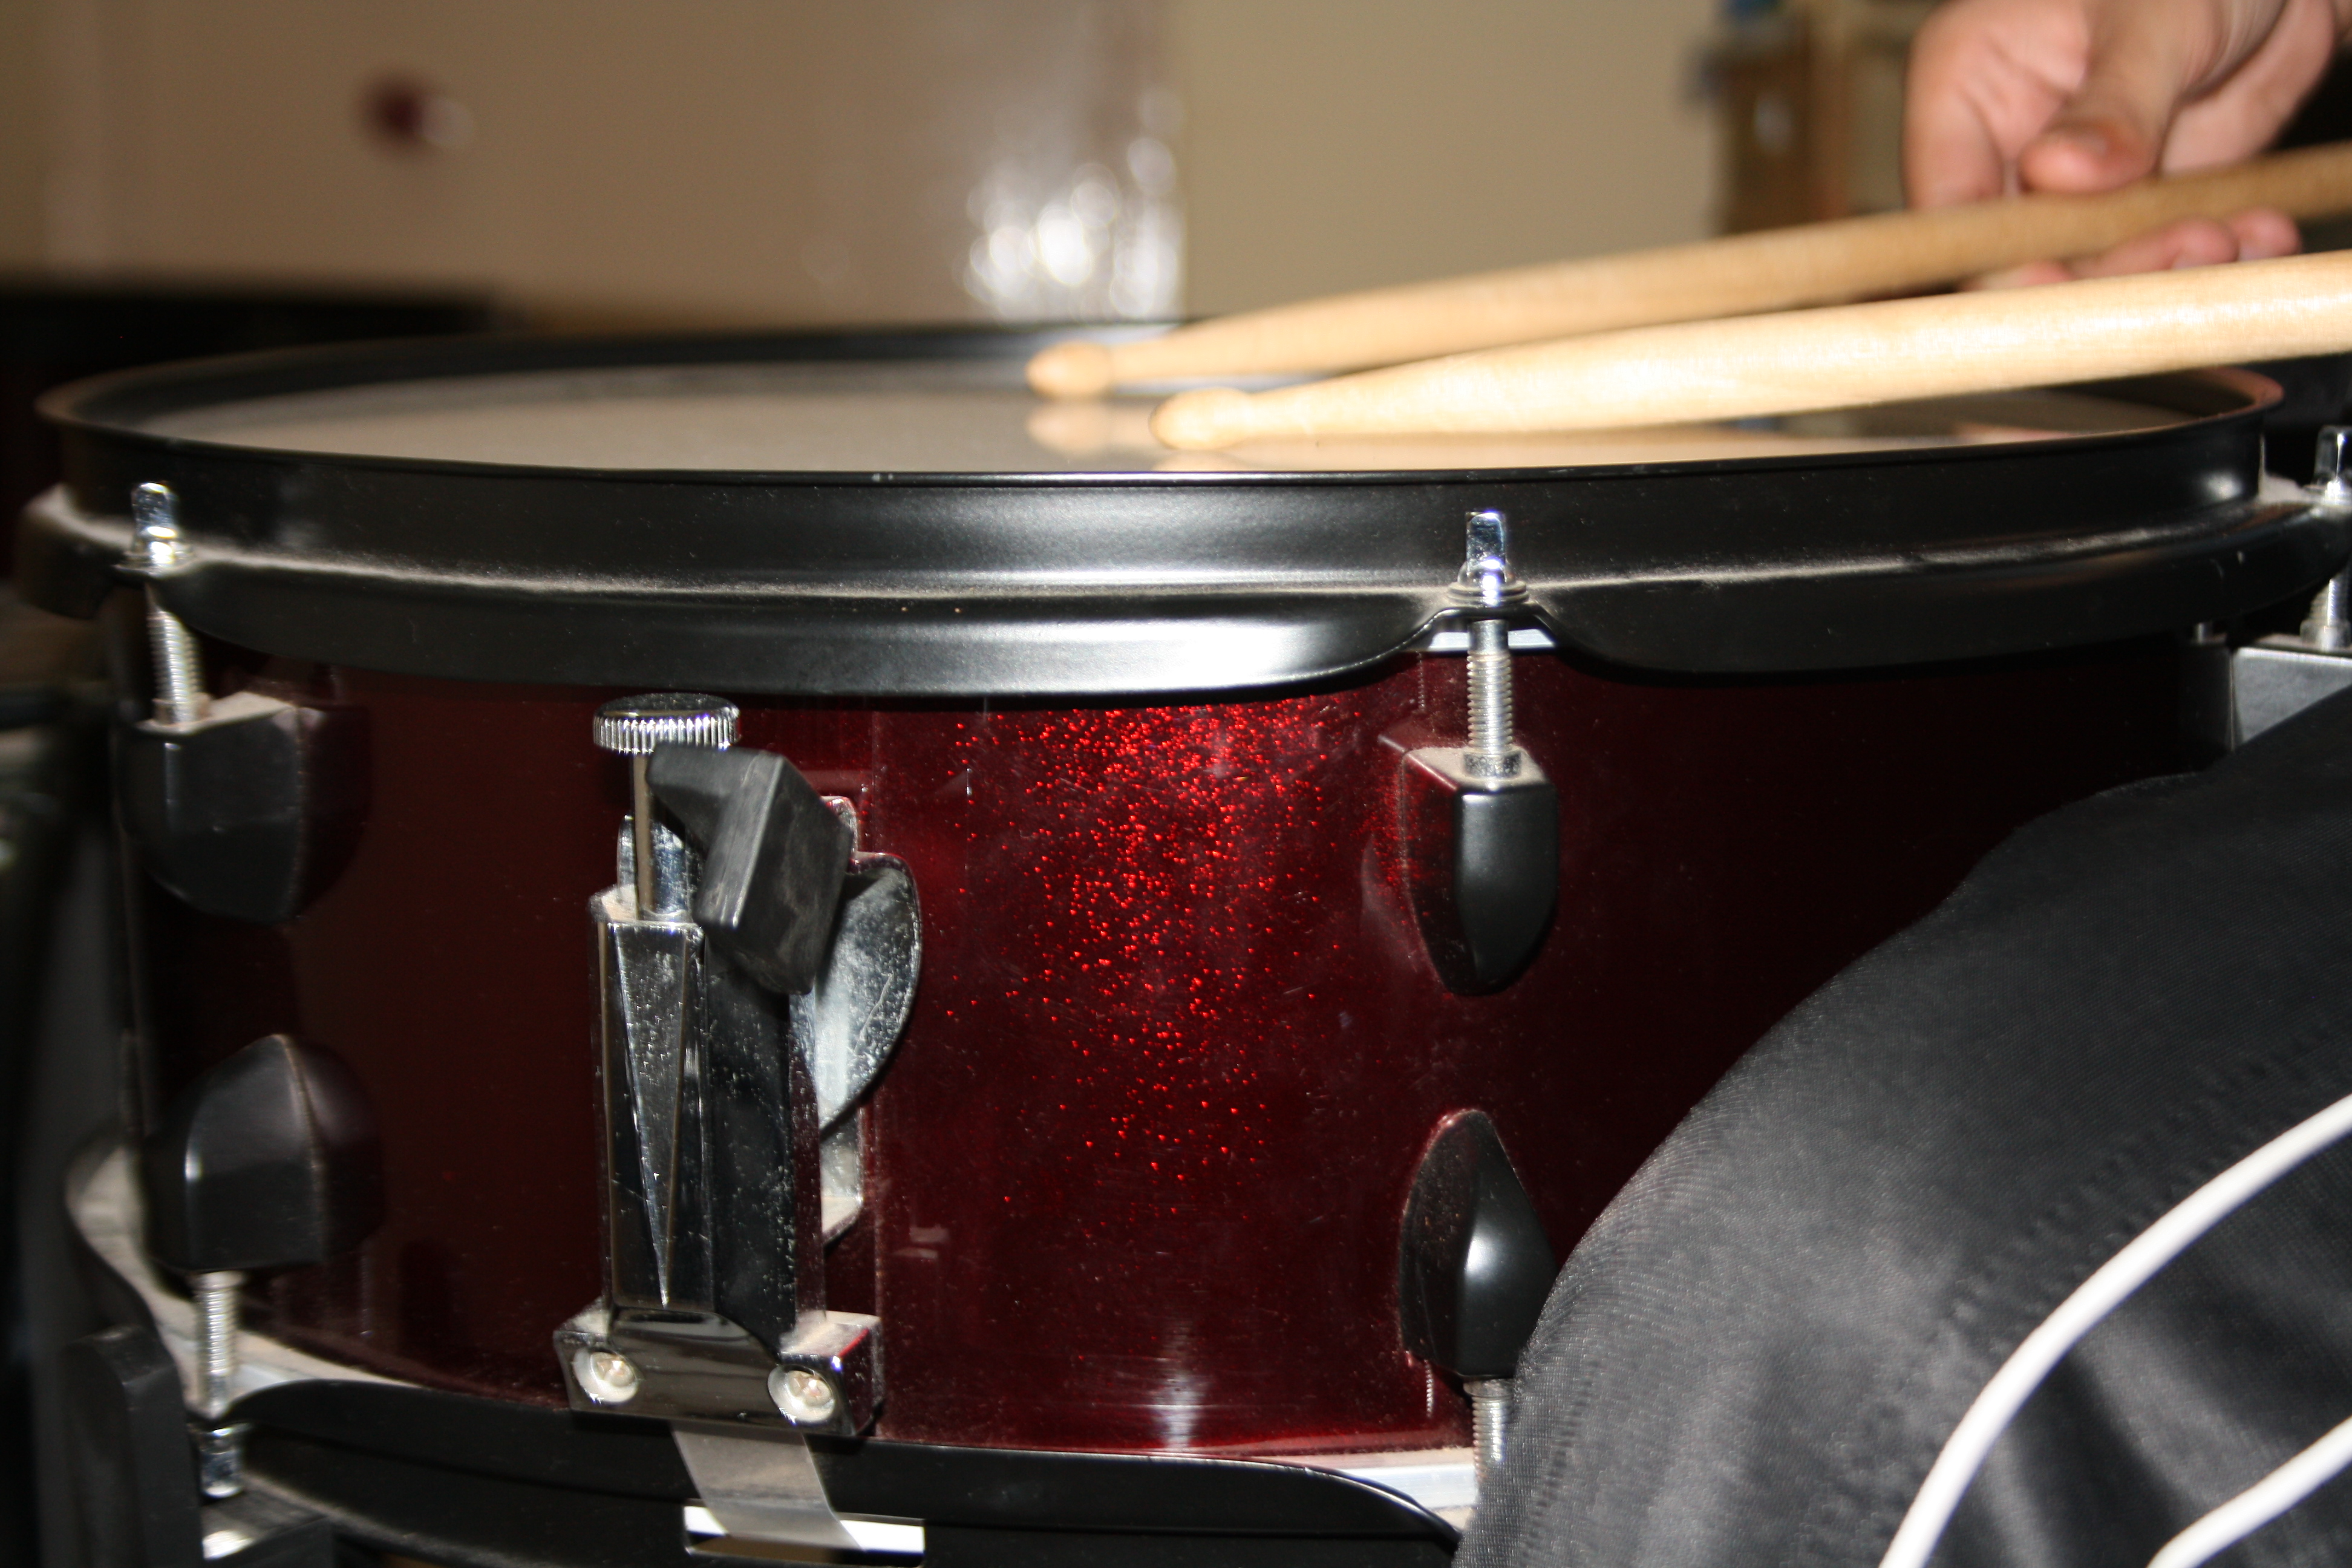
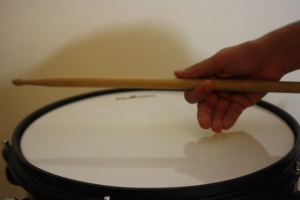
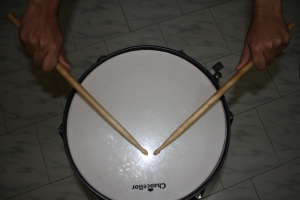
3. Place your sticks on the snare drum, and try to make a 45 degree angle with the back of your hand. This is called the American Grip.
American Grip
Palms of the hands are at a 45 degree angle
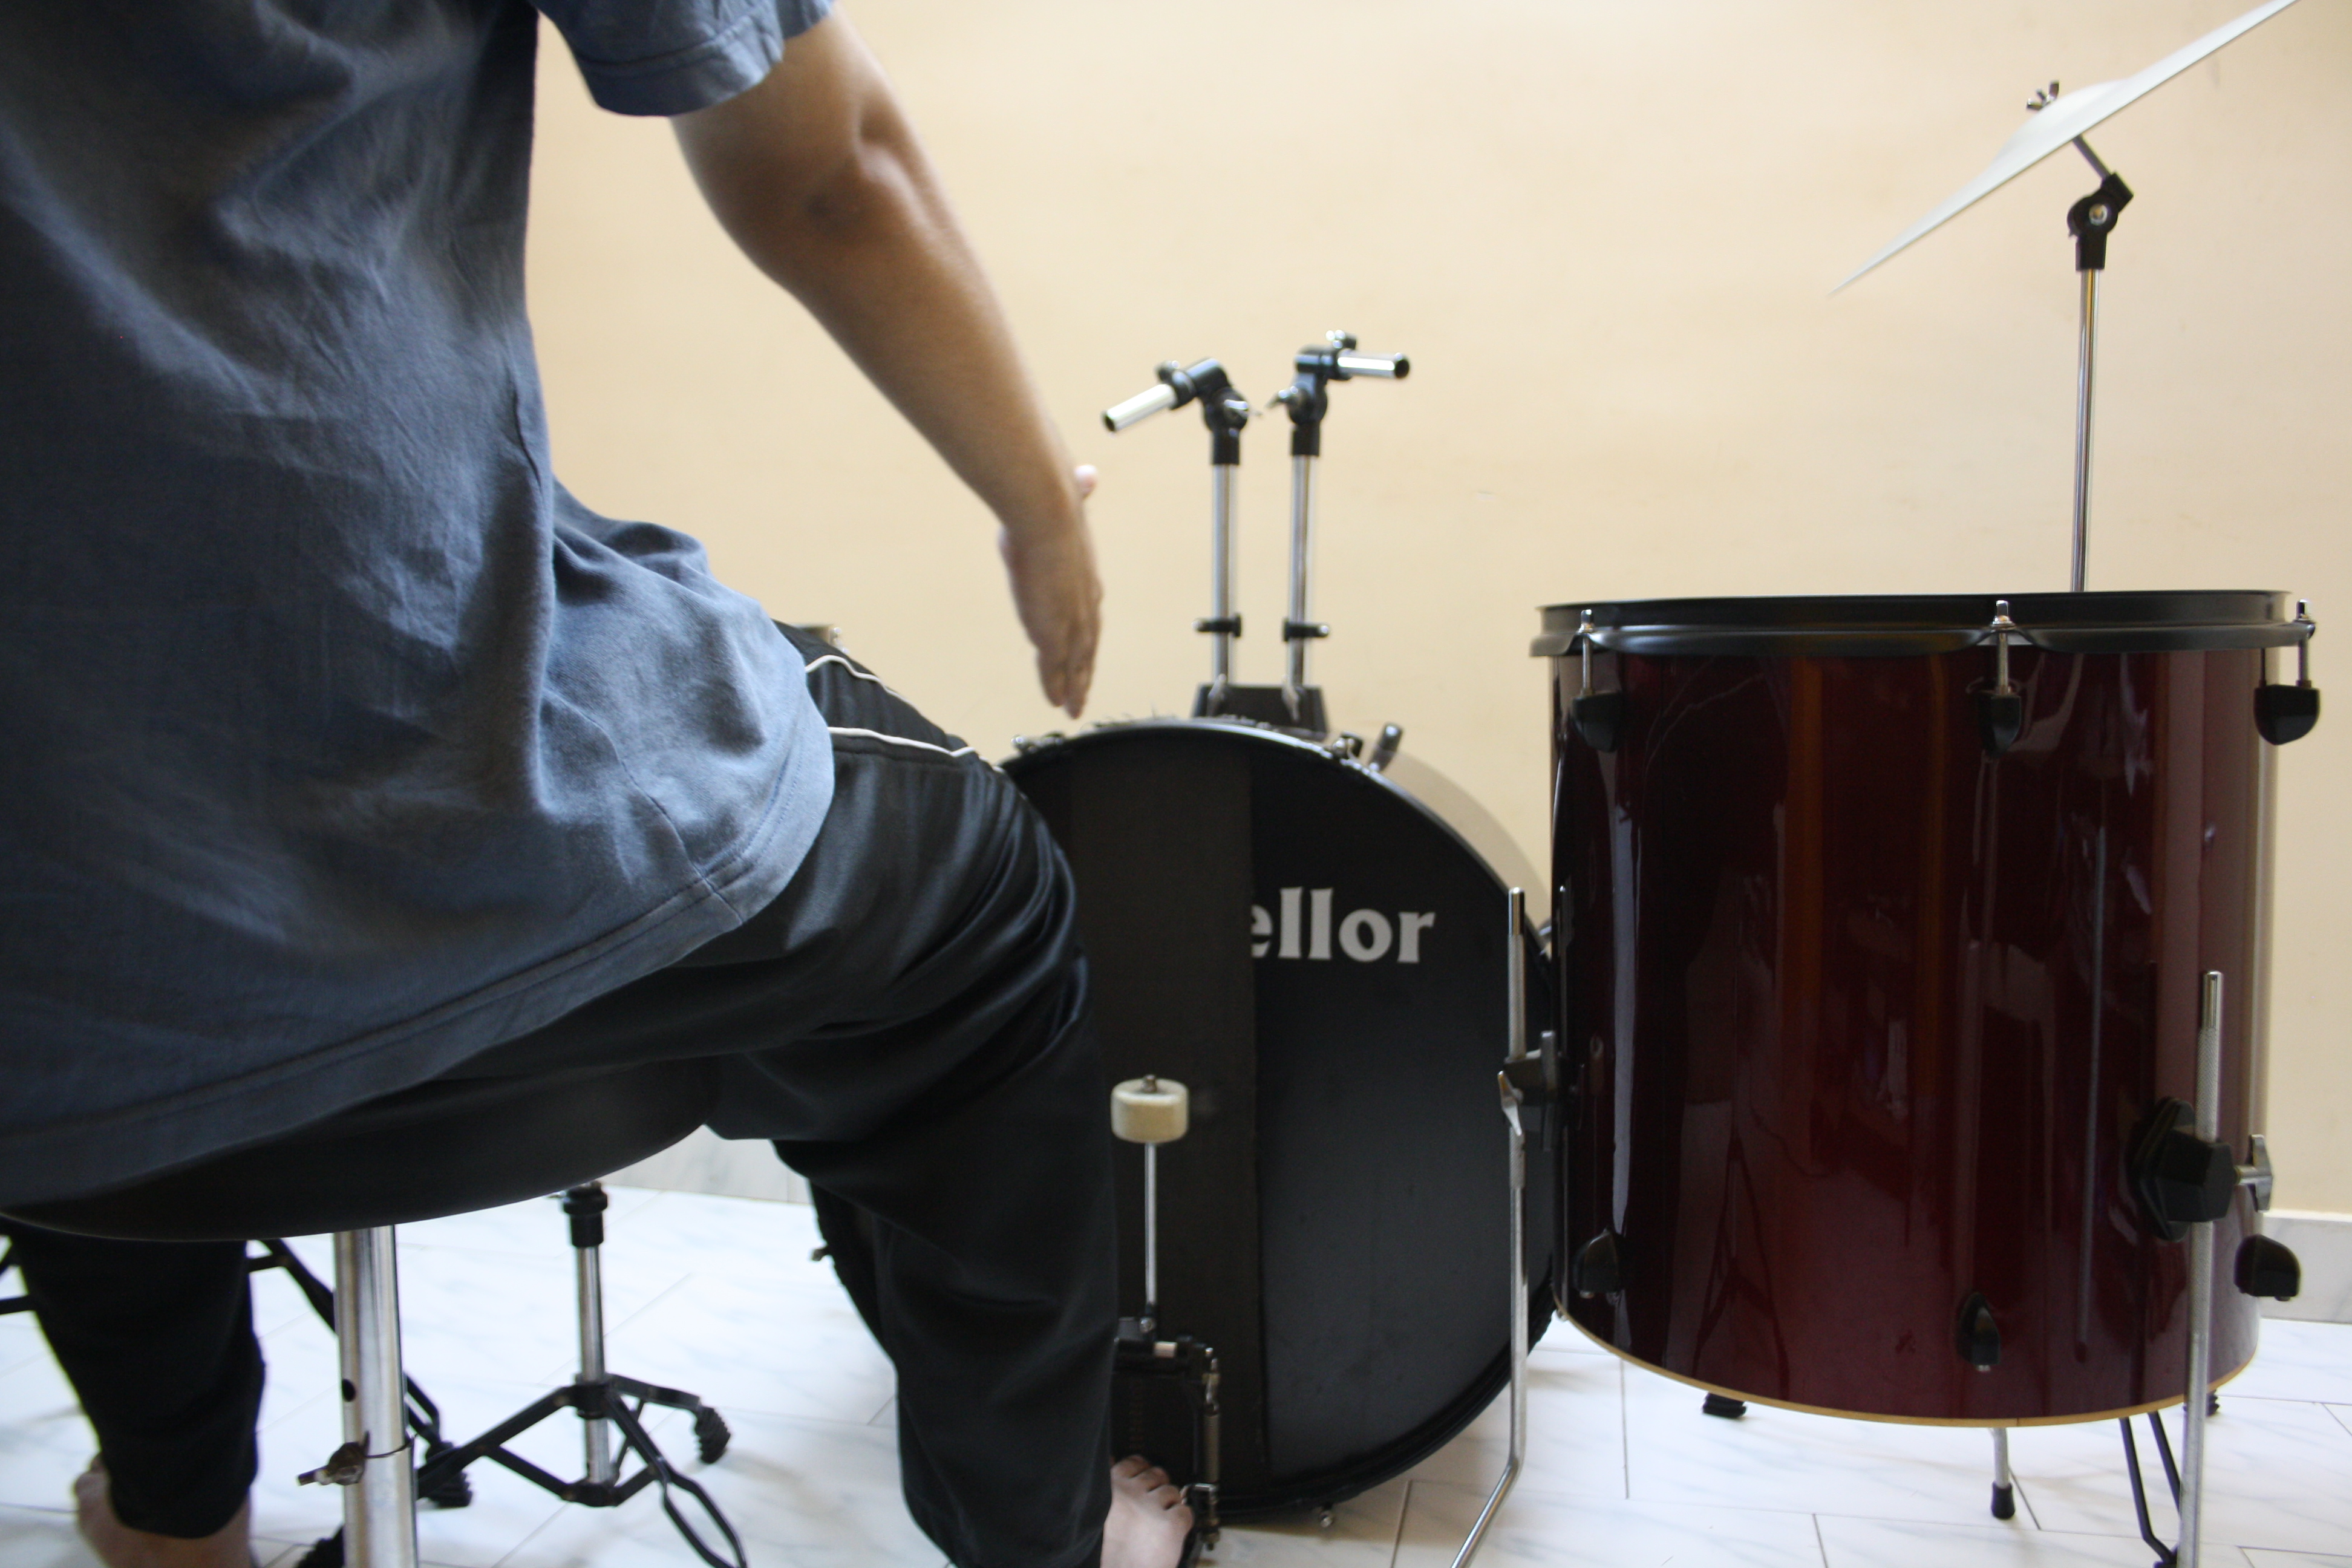
4. Make sure you get the right balance point because you need to get the maximum rebounds off the snare.
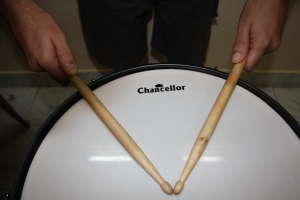
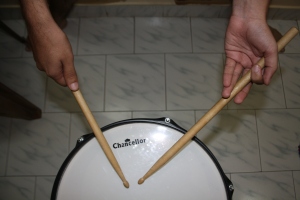
German Grip: The German grip is the same as the American grip except the angle in which you hold and play your sticks changes. Place the sticks on the snare and make a 90 degree angle with the back of your hand. So the hands are fully turned over.
German Grip- The back of the hands are fully turned over
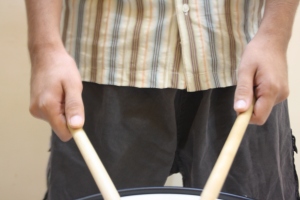
French Grip: The French Grip brings the sticks together, almost parallel. In the other two grips, the palms face downward. But in the french grip the palm faces a little side upwards. Not much power comes by holding the sticks with this kind of grip.
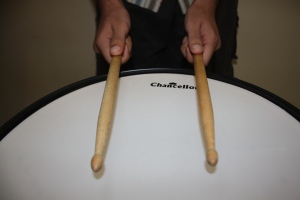
French Grip- the palms of the hands face directly toward each other
Traditional Grip:
Right Hand: In the right hand, the stick is gripped between the thumb and the first joint of the index finger, one third of the distance from the butt end of the stick. Same as the matched grip description above.
Left Hand:
- Hold the stick with your hand upside down that is palm side up.
- Place the stick in the socket between the thumb and index finger (one-third of the distance from the butt end of the stick). The pad of your thumb must rest on the first joint of the index finger.
- The stick should rest across the middle finger on the top side.
- Now rest the stick on the top(cuticle or the outer layer) of the ring finger.
- The little finger can support the ring finger.
Traditional Grip- The Underhand style
This is the Underhand Grip whereas the matched grip is called the Overhand Grip.
Traditional Grip
Traditional grip is popular for Jazz drumming whereas the matched grip is popular for Rock drumming. Try learning all the stick grips because it will help you in the long run. If you want to play jazz and other softer styles, traditional grip can be incorporated. For heavy styles of drumming, matched grip is better.
These are the correct ways of holding the sticks. Just make sure that the wrist and the fingers are moving with the palm facing down or up depending on which grip you use. The movement should not come from your elbow.
This is just getting ready to play. But it is very important and a good start. Just relax and don’t feel any tension by putting too much pressure on holding the sticks.
Follow my blog to stay updated to similar posts. You can reach me on Twitter @yeshwanthbhatt.